Bitoku: Just Beyond the River and Into a New Solo Realm
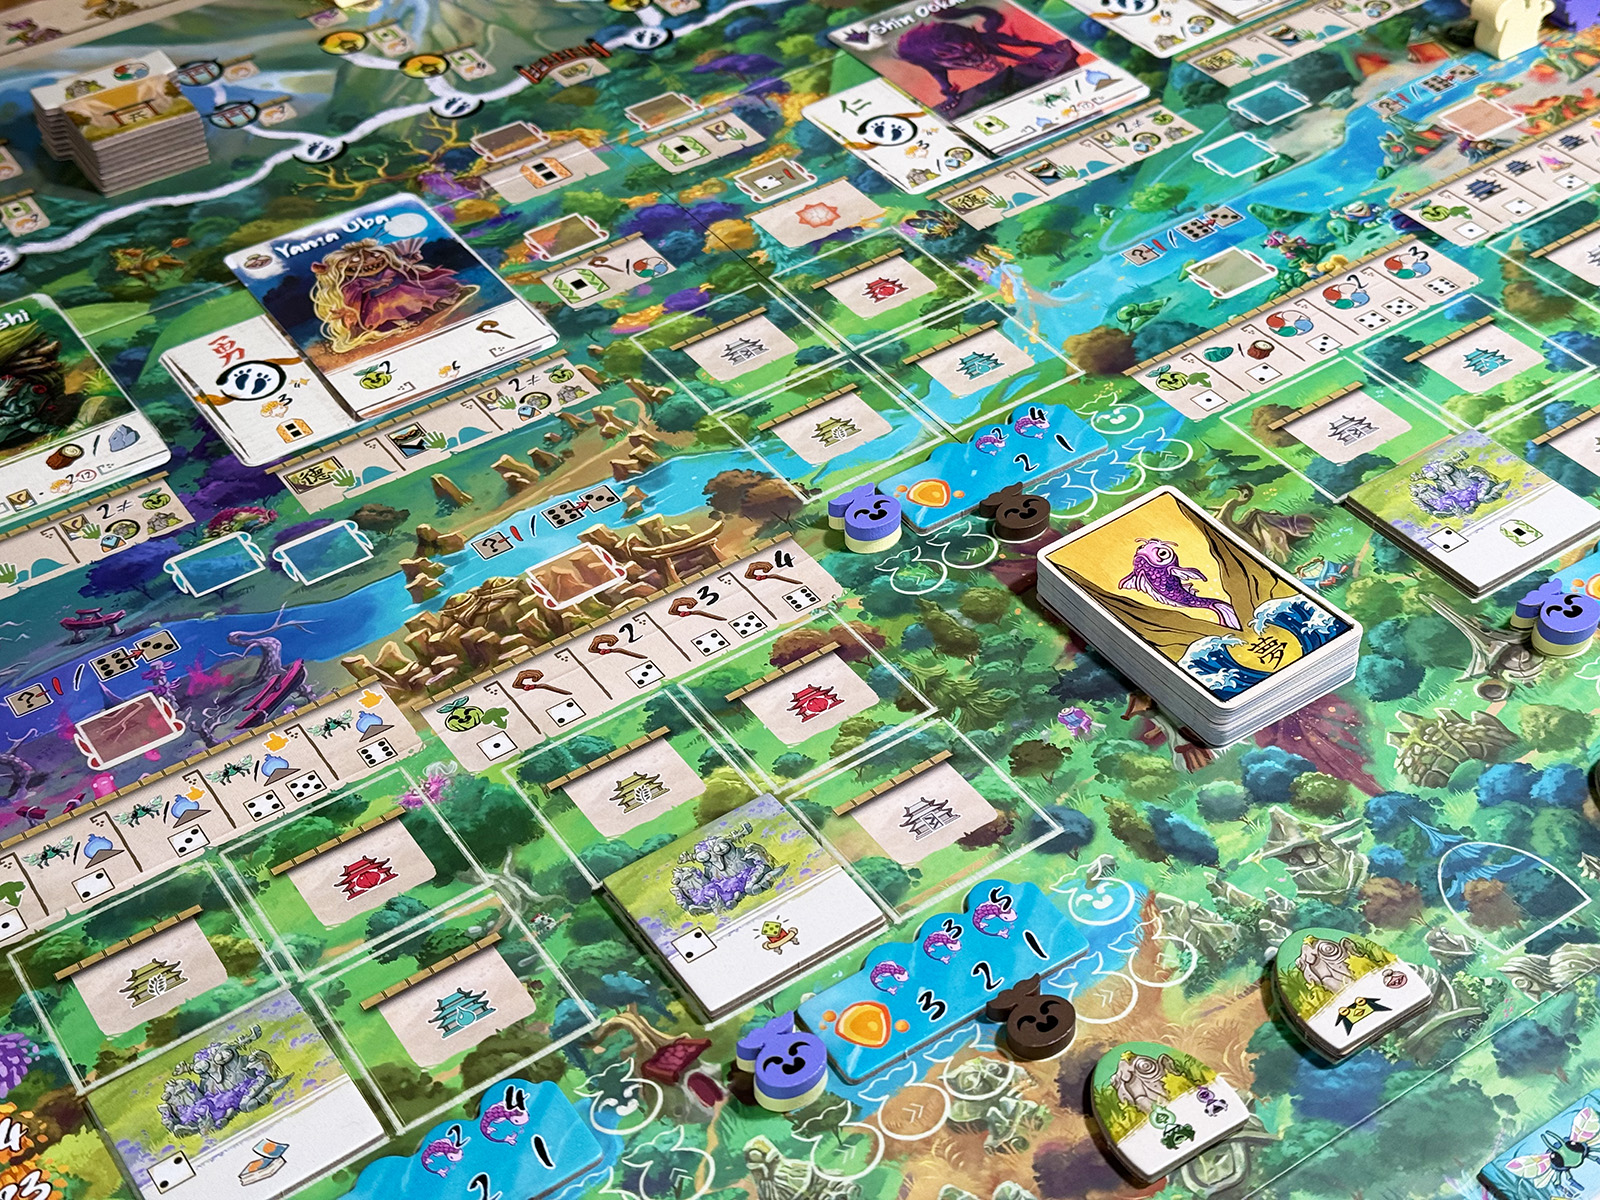
Travel along different paths of enlightenment in a beautiful world filled with wonder and unique beings in Bitoku.
Although Bitoku has been in my collection for a few years, I’ve always been intimidated by the massive board and number of components. Such a beautiful sight, though! This one can be difficult to learn, yet gameplay features some neat mechanics and interconnected strategies. With some preparation, I was ready to make the journey into this solo mode!
Game Overview
Game Name: Bitoku
Publication Year: 2021
Designer: Germán P. Millán
Artist: Edu Valls
Publisher: Devir
Solo Mode: Included in the Base Game
Over the course of 4 rounds, seasons change and victory points may be collected from many sources. It looks like a lot, yet the core elements are quite focused while offering a flexible set of choices. There are many paths to take, and honing in on a specific strength is often the key to success!
First Play
October 25, 2025
Complexity
3
Latest Play
October 26, 2025
Expansions
0
Setup Time
20 Minutes
Lifetime Plays
2
Play Time
1 Hour & 30 Minutes
High Score
159
Game Area
38" x 32"
Low Score
135
Mysterious Beauty
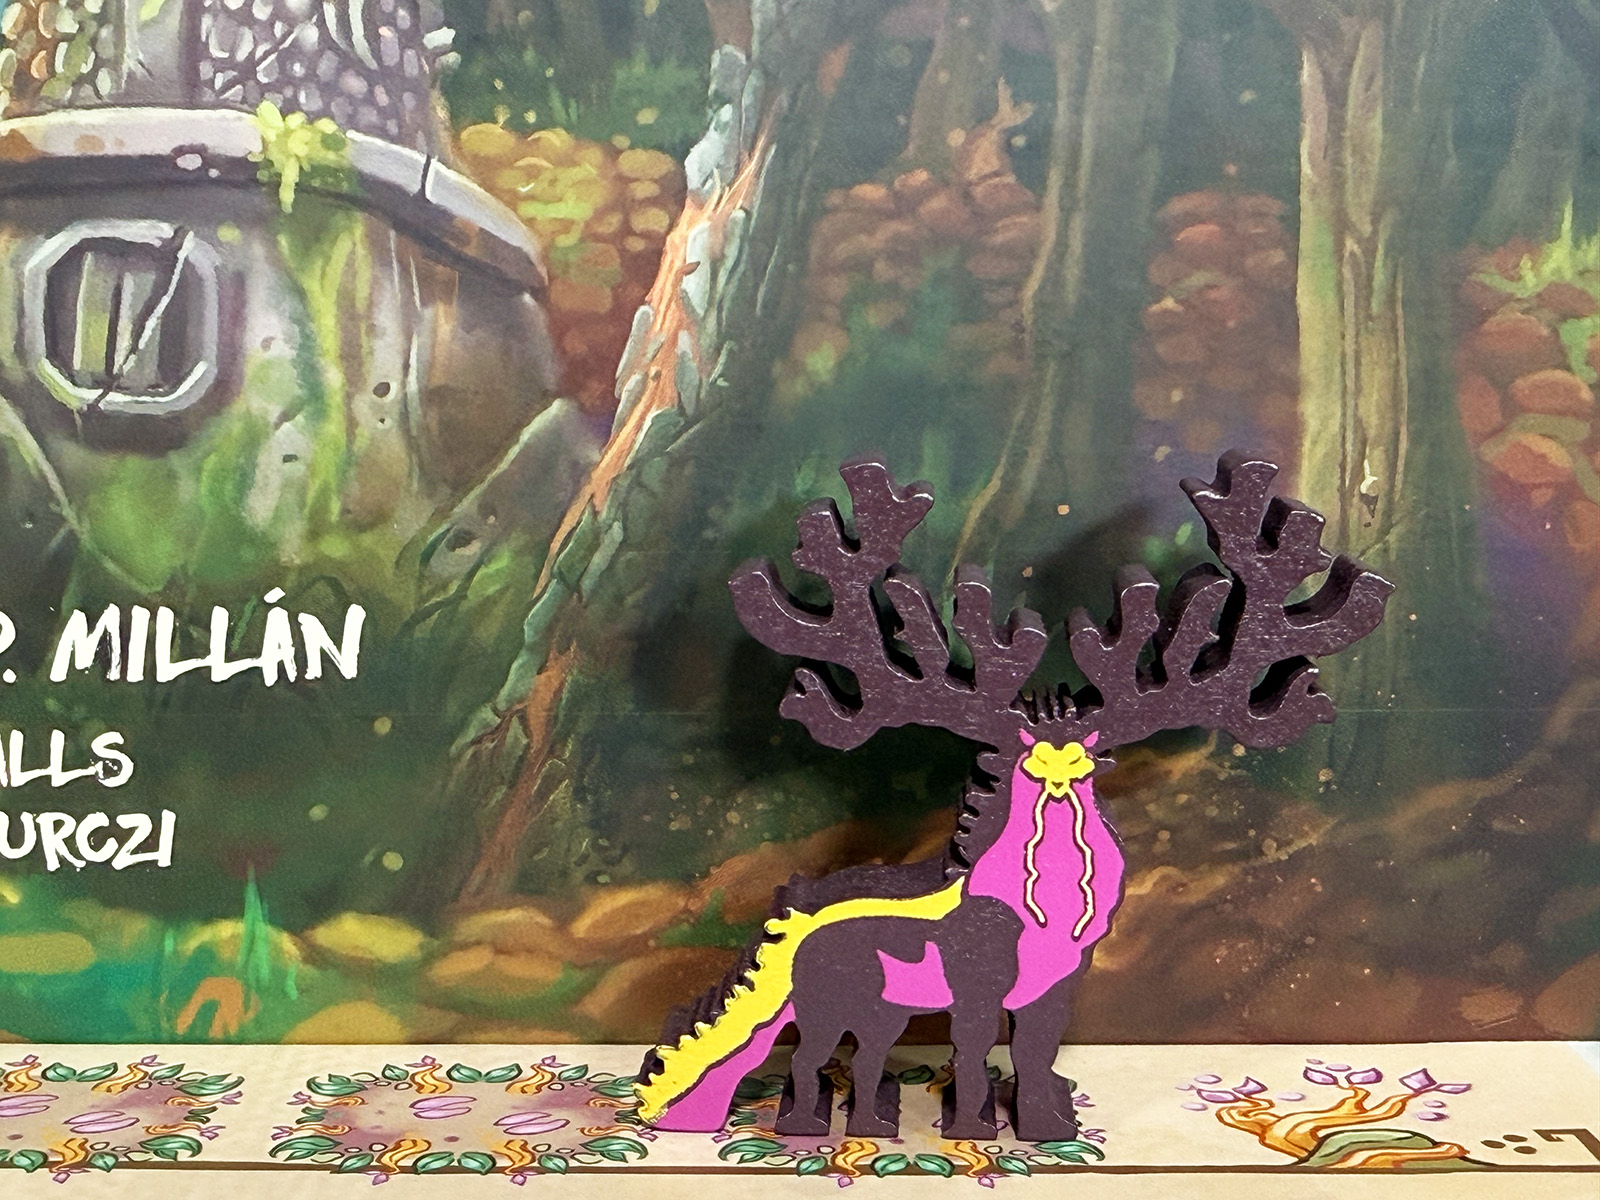
Everything about the game is simply stunning to look at, from the intricate artwork to the awesome wooden components. Look at this fantastic round tracker!
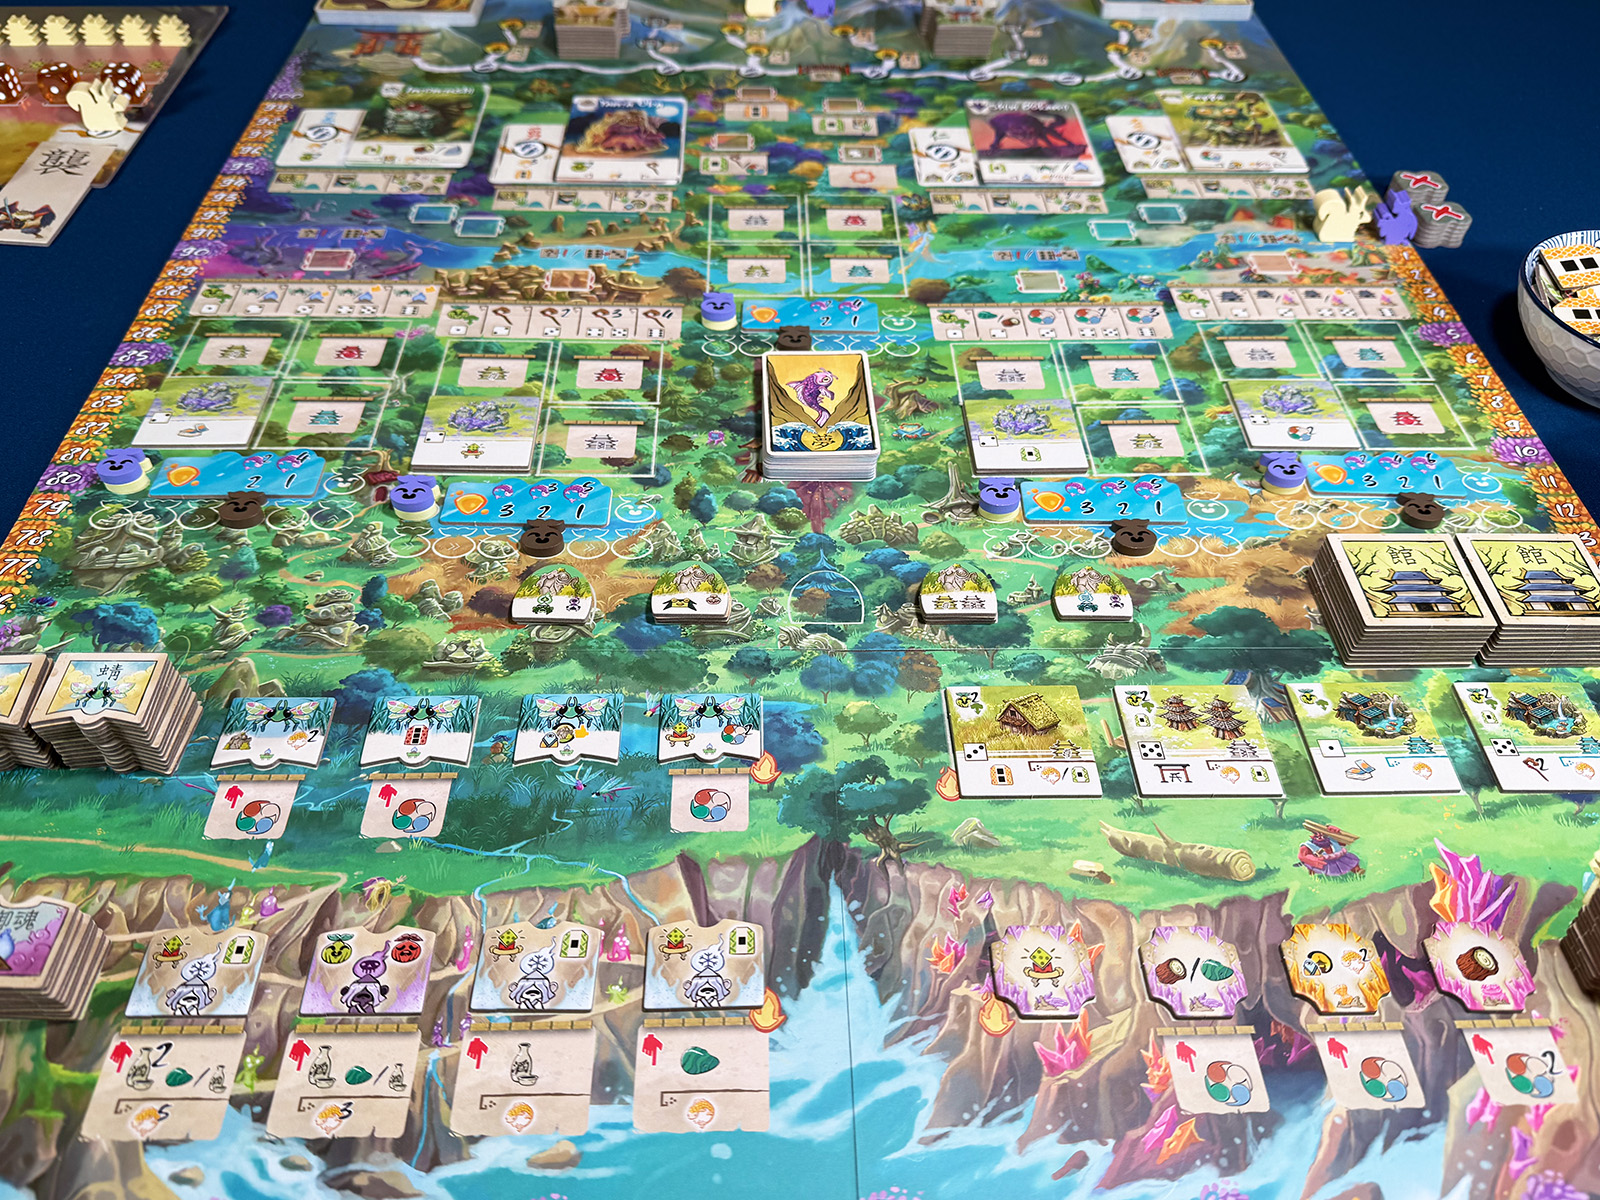
However, the sheer size can be daunting and overwhelming. I still recall playing this multiplayer, and the heavy board ripped when I was putting it away years ago. Oh, dear!
That’s been replaced, thankfully, but I still can’t quite get over how much is going on in a visual sense.
I feel like it could be just as impressive with a smaller board that didn’t stretch out across my entire table space.
Lore, Icons, and Rules
In some senses, I love the rulebook for all of the intrigue and mystery it creates around the lore. This is a vibrant setting with all kinds of unique inhabitants to discover.
However, this means that the gameplay rules are mixed in with paragraphs of lore. Everything is split up in a way that makes referencing a single action very difficult.
On top of that, the iconography is pretty dense and a 4-page booklet must be used to decipher most of these.
The learning process was very difficult, and I spent around a week trying to feel comfortable with the general rules.
Following the Flow
Despite the enormous board, actions mainly come down to taking actions by placing dice, where their values determine the options. Not too complicated after the first round!
There are a number of elements to keep in mind, though, since a lot of actions are about chaining bonuses or working through how to set up future turns. Lots of possibilities.
Crossing the river is another crucial part of each turn, which requires reducing dice values for powerful abilities.
A grand puzzle is lurking beneath this colorful surface, and as I started to play, it was neat to see it all come together!
The Little Details
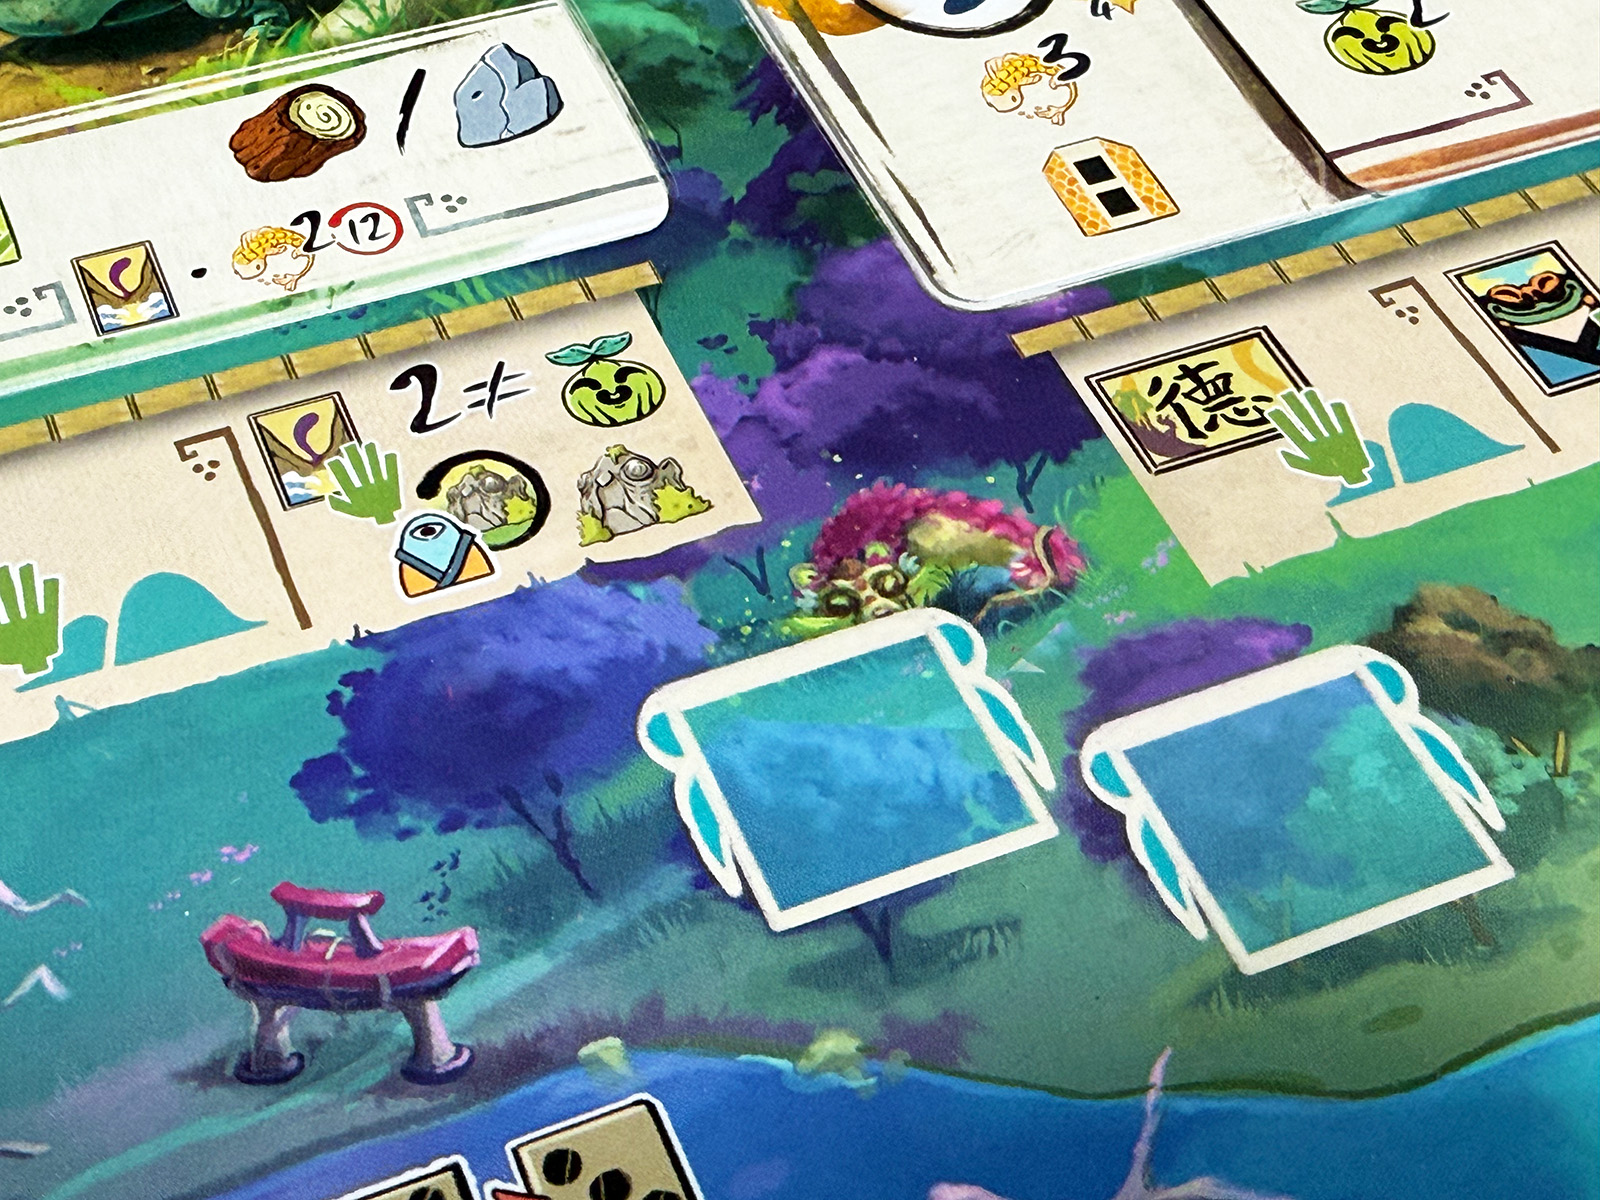
Although the board is quite intimidating at first, I loved looking closely at all of the different areas. They have their own lore and names, adding to the feel of a large world.
Up close, there are all kinds of features to find in the art. A Jin can be found napping amongst these fluffy purple trees.
Actually, with sharp eyes, it looks like all of the beings featured in the card artwork are sprinkled across the board!
These little details are wonderful, as it makes the board a bit more inviting and less overwhelming. Yet from a gameplay standpoint, I can see why some might run for the hills!
A Rather Funny Lesson from Childhood Tales
As I started to play, it struck me that I’m becoming a bit overwhelmed by enormous boxes and play areas these days. Part of that probably has to do with me straining a back muscle about a month ago… The less stretching across the table I have to do, the better! Yet it also comes down to the words I’ve used throughout this post: Overwhelming and intimidating.
There is a lot to look at on the main board, and that’s not even taking into account the player area. That’s a lot for me. I was reminded of Goldilocks and the Three Bears. Ha ha! I mean that mostly as a joke, but it’s definitely becoming relevant.
Box sizes fall into this idea of finding the right size. I skip over the very small ones at times because I want to spend a bit of time playing. But the huge boxes that weigh 10-15 pounds? I don’t want to constantly take those off my shelves.
In the end, it’s also a case of the required table space. I don’t like having dozens of boards and components to look at most of the time. Visual noise can add to that feeling of unease, and I often enjoy a cozy sort of play space. That’s not always true, but a bit of tidying up often goes a long way. This experience got me thinking about a lot of these aspects… Just too big.
Player Board Choices
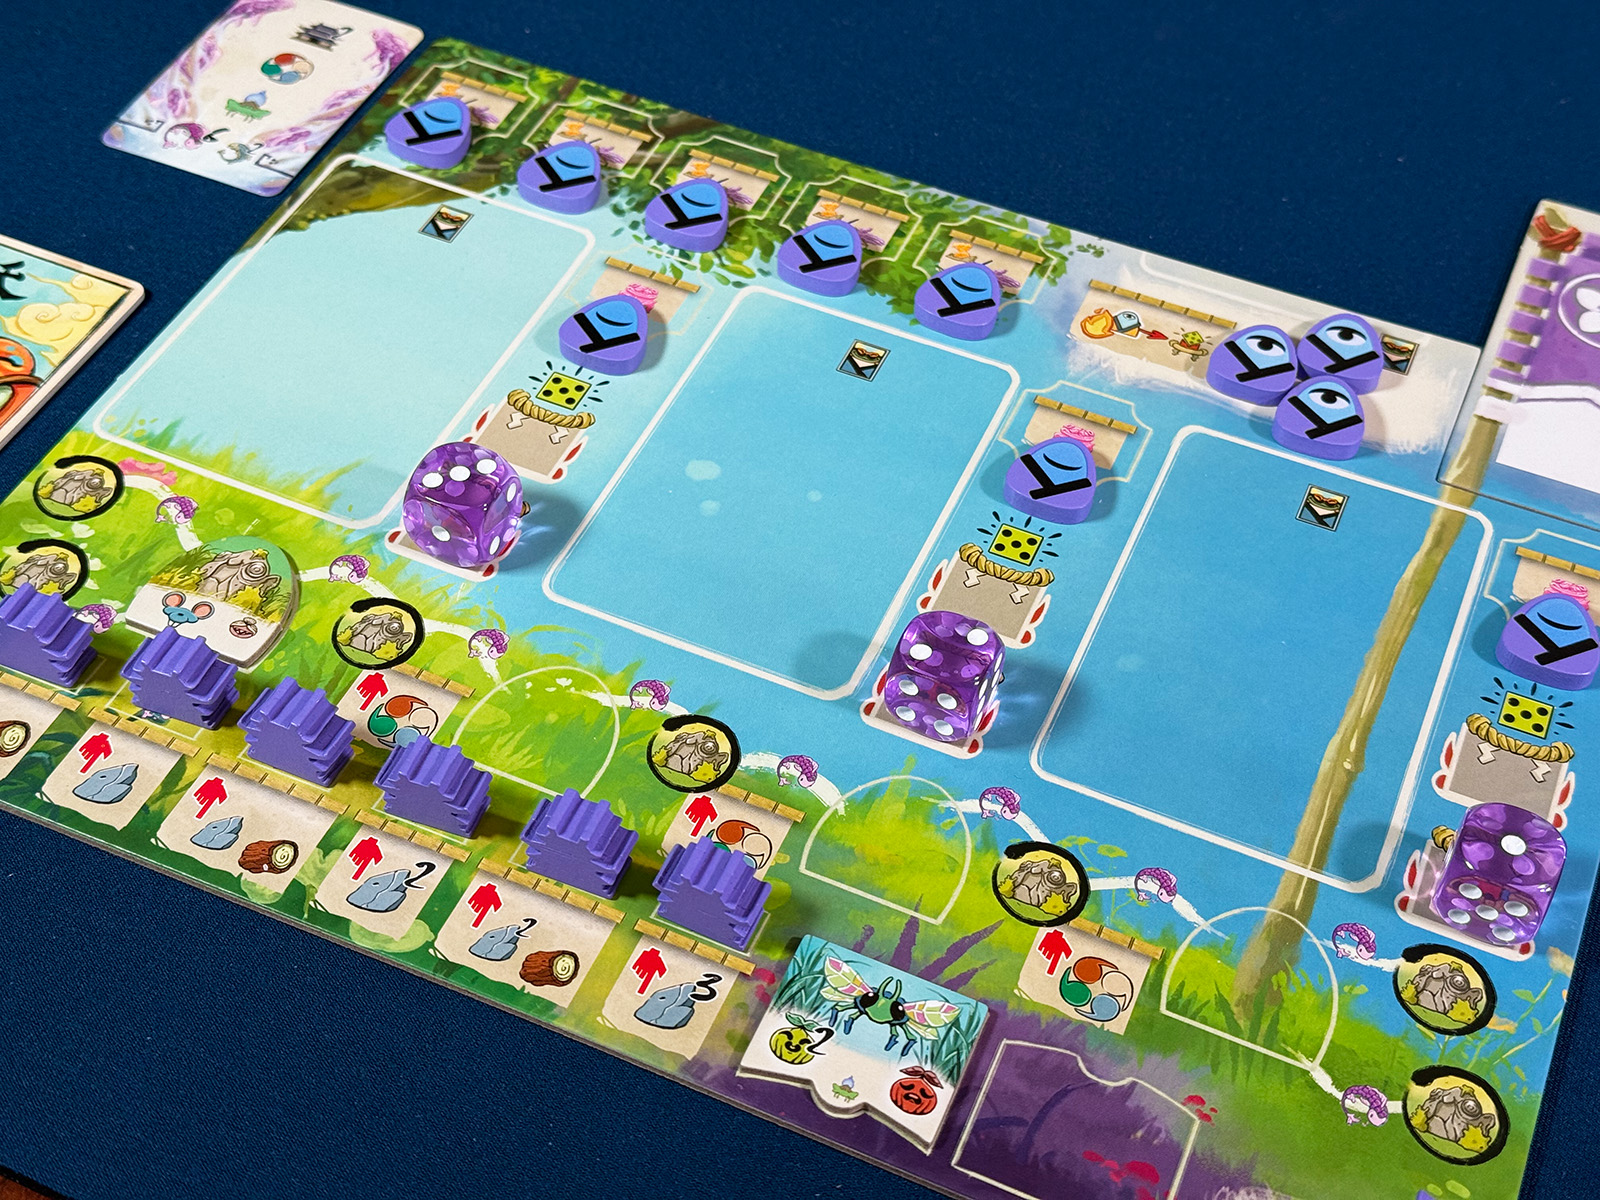
I was in for a little more to think about when it came time to set up my play area. This board features more icons and lots of wooden components for buildings and pilgrims.
However, it’s another instance of the actual gameplay being a lot more approachable than it seems at first glance.
Dice are the main way to take actions on the board, and they must be unlocked, typically by playing a card to one of these slots. Everything else becomes intuitive pretty quickly.
Part of me loved it, yet it still took me a few days to feel like I knew what I was looking at and how to form a strategy.
Managing the Tengu
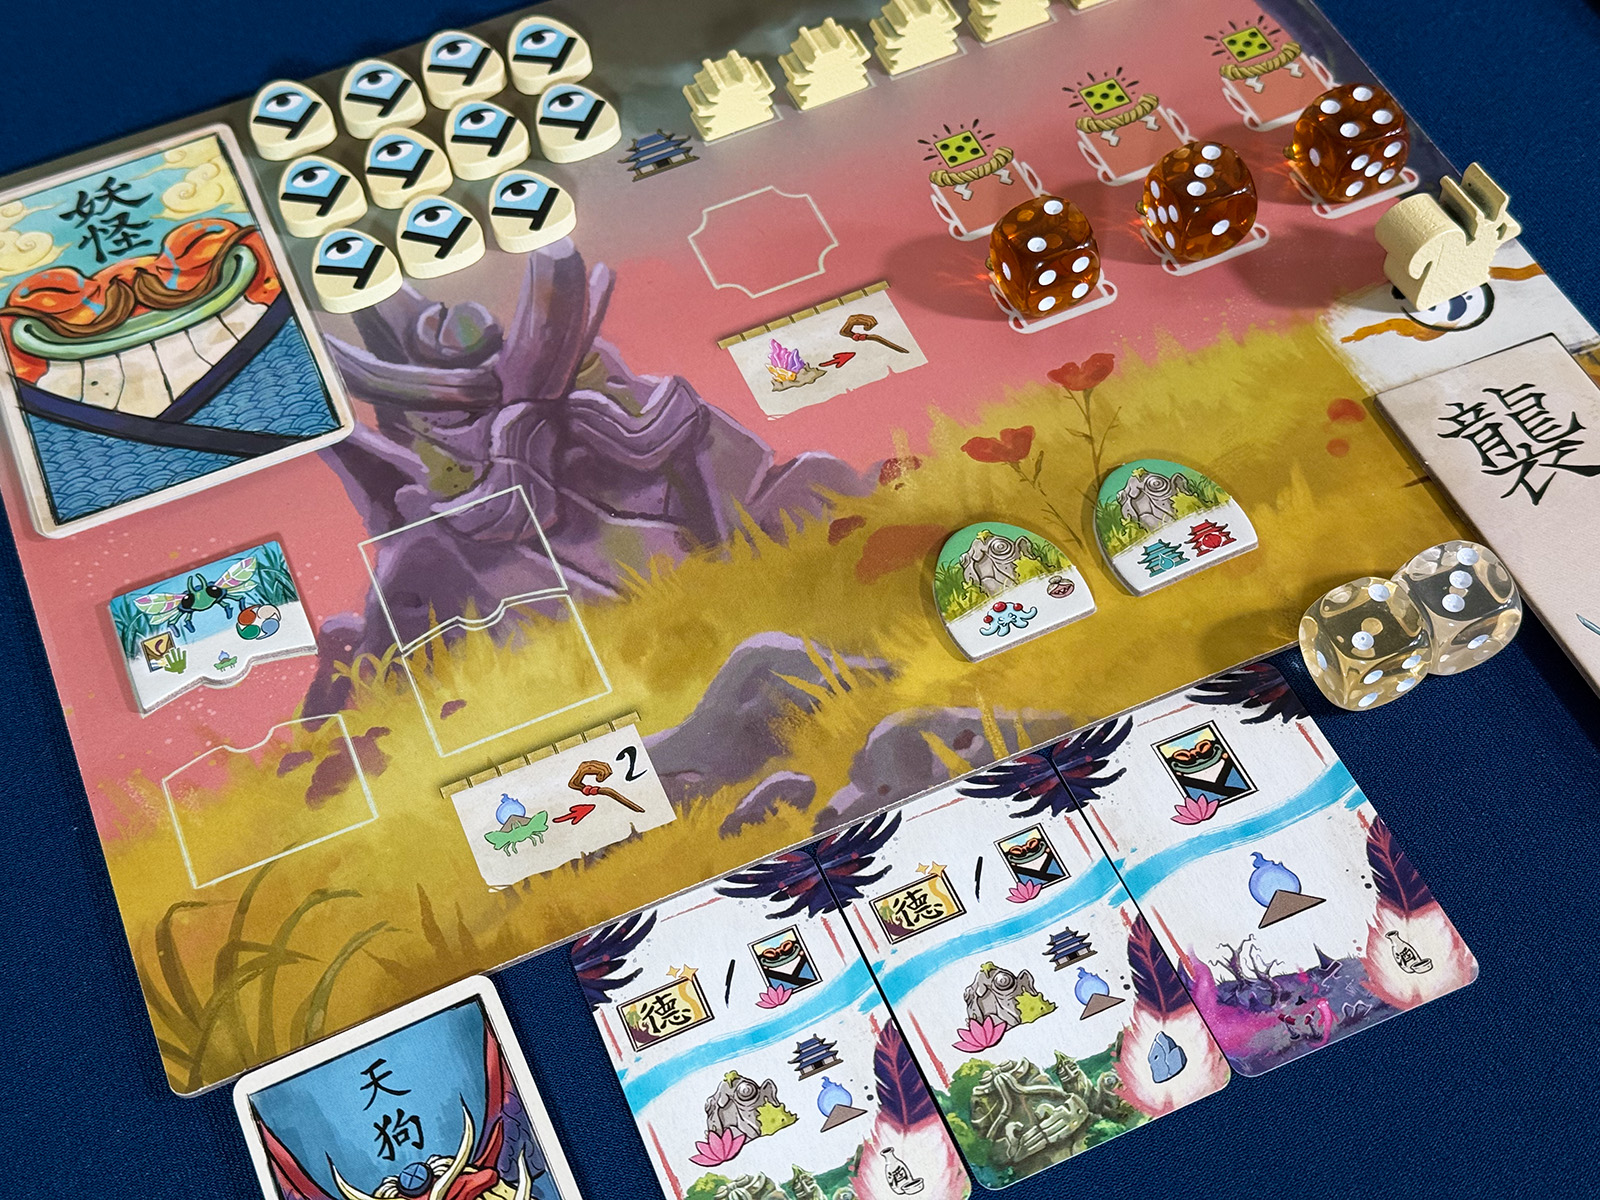
Although I settled in and had a nice time with my own strategic decisions, the solo mode took a lot of work.
I had to handle a full-fledged solo opponent with a flow chart of possible actions. Rarely was a turn obvious, and this took a lot of time away from the focus on my own actions.
This is certainly competitive and seems to simulate the choices a human player would make, but I had to apply different rules and constantly think about what to do.
Perhaps this is more a case of aligning with the right solo player, though, since I can see the appeal of the extra work.
An Easier Flow Chart
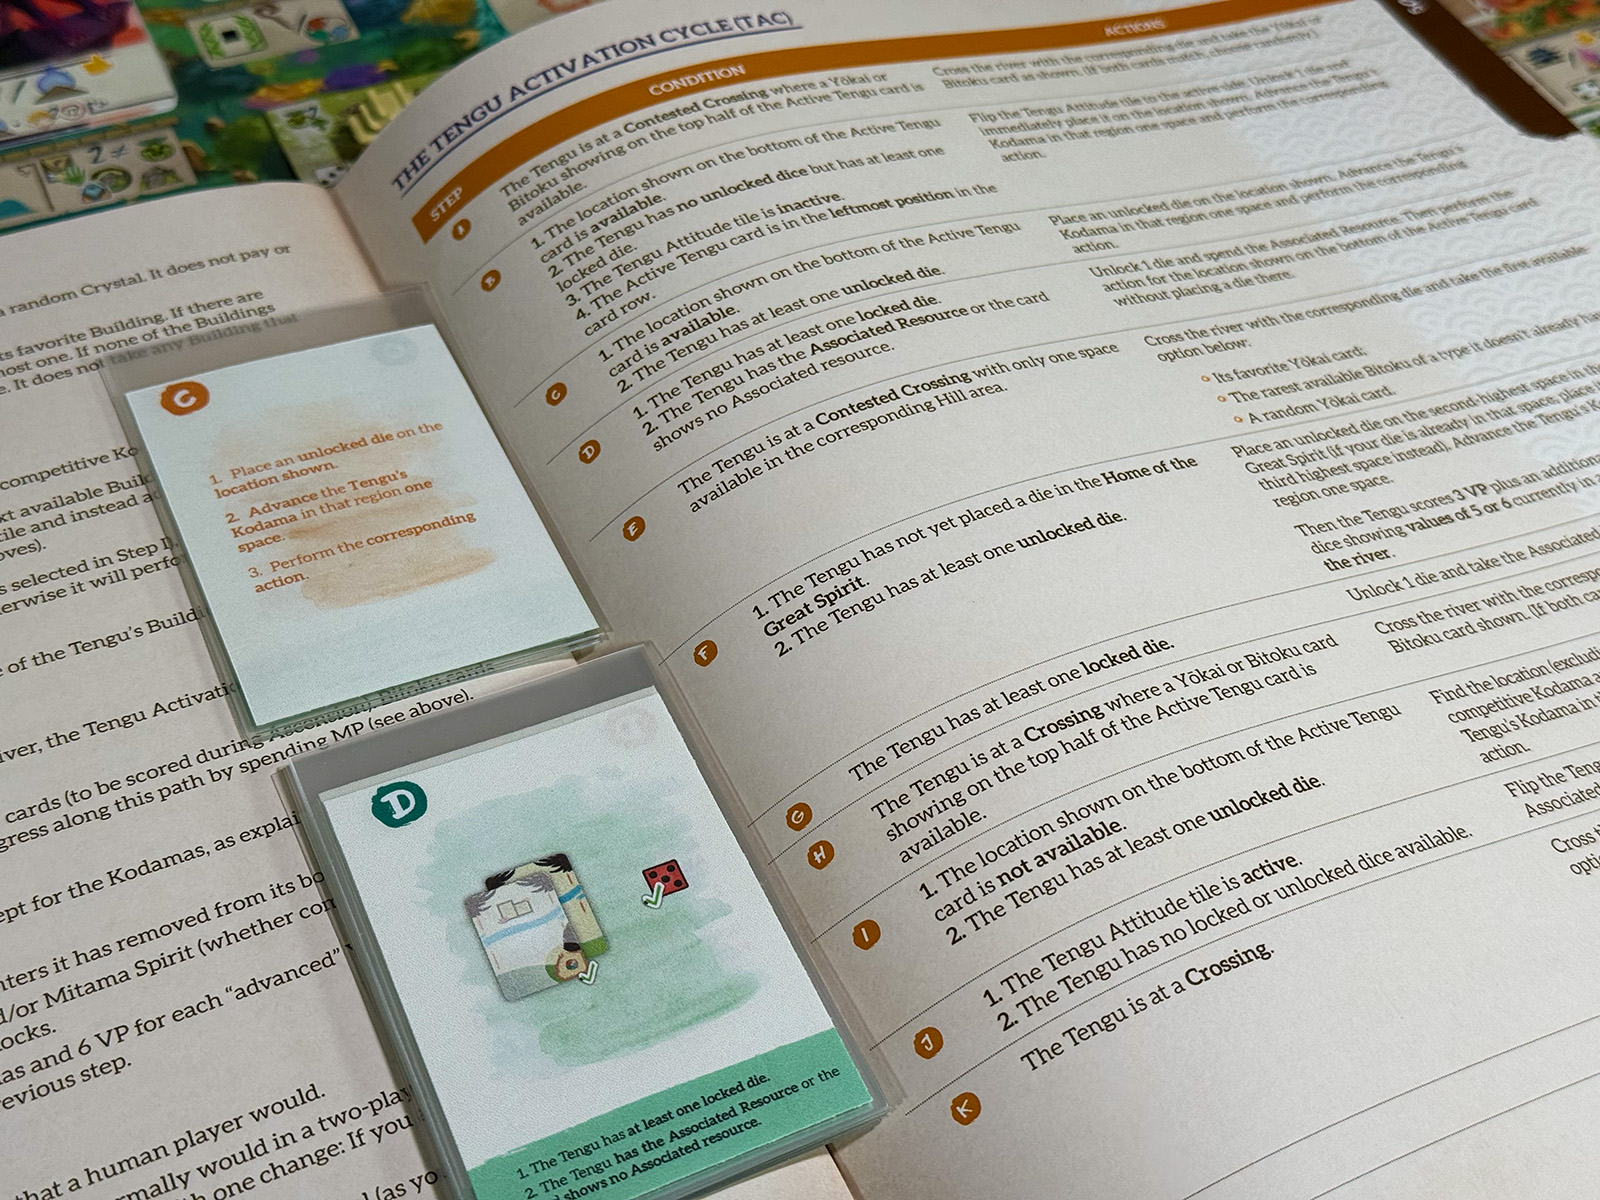
To play the solo mode, the rulebook must stay open to follow this text-based flow chart on every single turn. This is already a huge game, so I went in search of assistance.
Success! I found these Bitoku Solo Cards to make it much easier to manage. It was simply a case of cycling through, then flipping over the first card that applied. Much easier!
However, I continued to feel like I had to take a lot of time away from my turns to run the solo opponent.
Looking up rules and rules exceptions was another major effort, as nothing was grouped together for easy reference.
Clever Dice Play
When everything started to click, though, I found some fun ways to slow down the solo opponent and even cross the river early to block these bonus spots. Very fun moments!
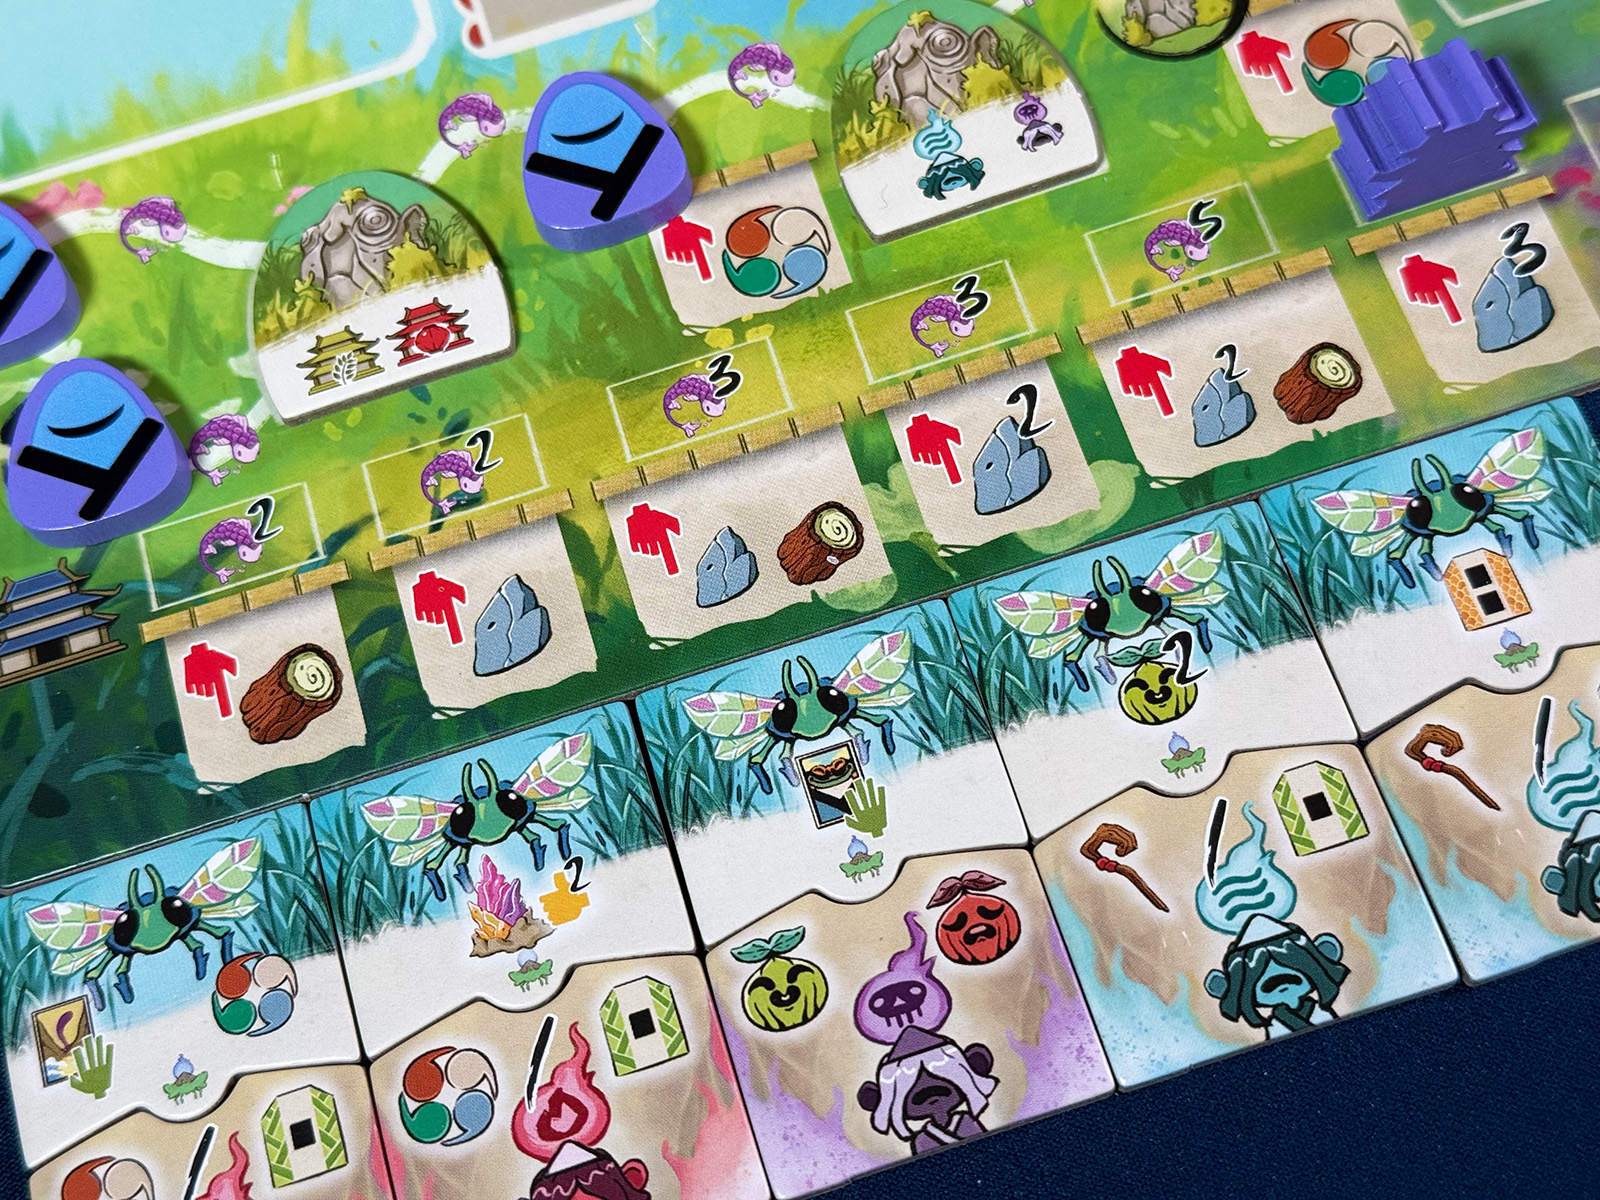
Collecting these cards can be quite lucrative, as some grant better actions, while others advance a possible path with upcoming bonuses. Also, look at that awesome artwork!
My first play didn’t go too well, although I didn’t lose by too wide of a margin. That felt just about right for a beginner.
It was fun to see the optimal actions, often with an eye to future turns and a specialty. I was on the right track!
Happy Kodama Spirits
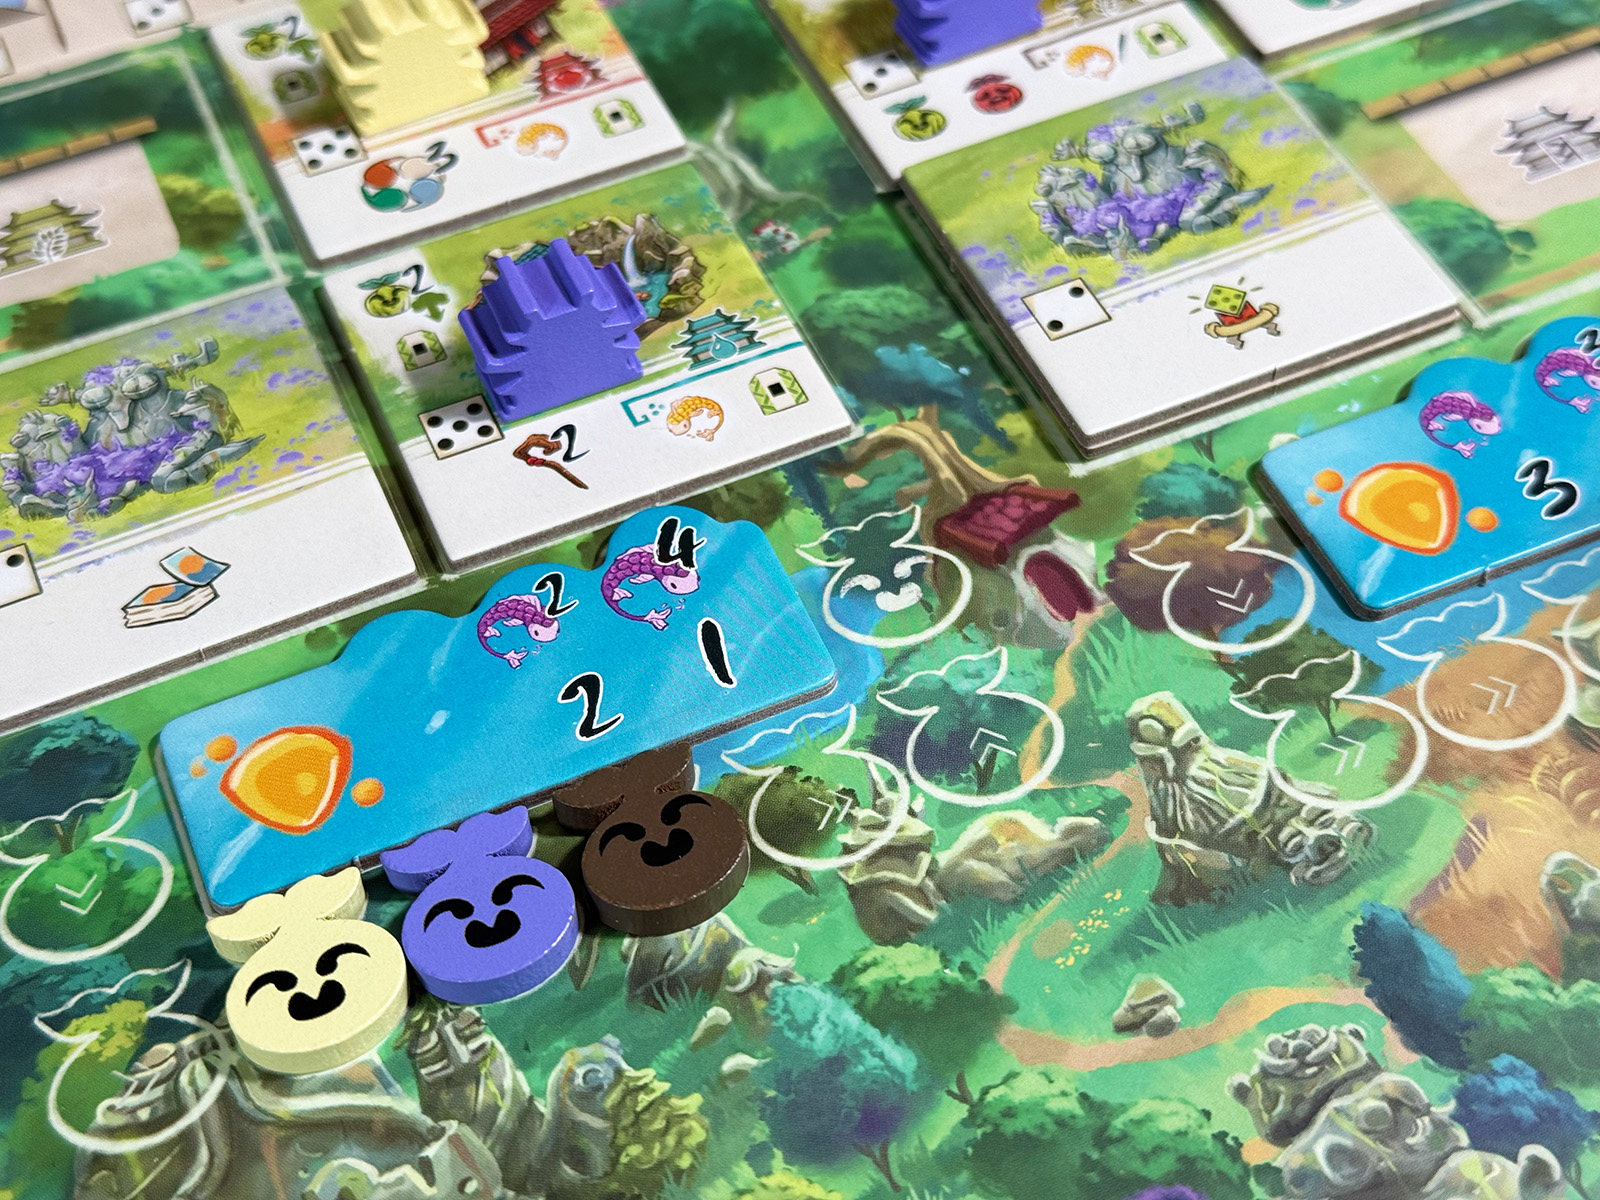
An element that might go overlooked at times are the kodama, or happy little spirits that collect lake treasures. These can advance in several ways for majority scoring.
This wasn’t a particularly exciting part of gameplay, but it offered some other ways to score victory points at the end.
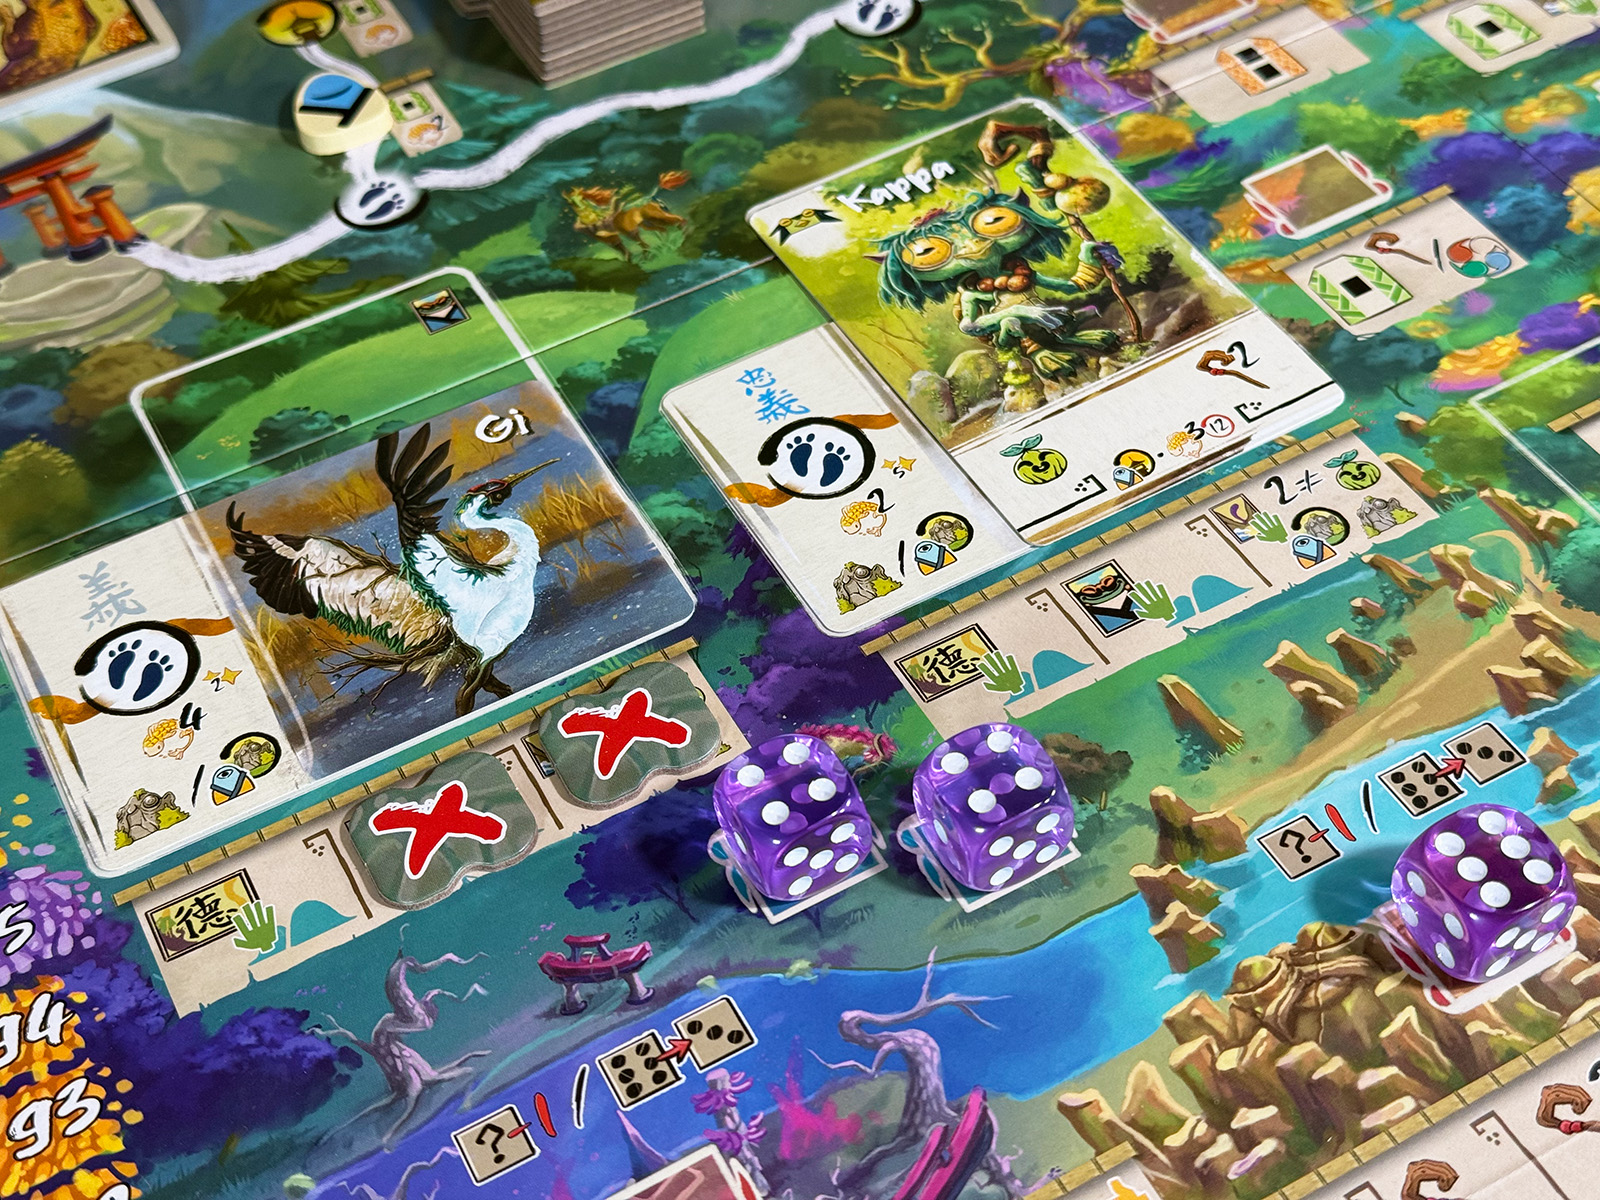
Probably more important were the inhabited areas, where buildings took shape. These offered immediate benefits, along with a special ability for matching dice values.
For instance, a value 5 die played to this action area could earn me 3 extra resources or 2 movement points. Very cool!
Moving Along the Path
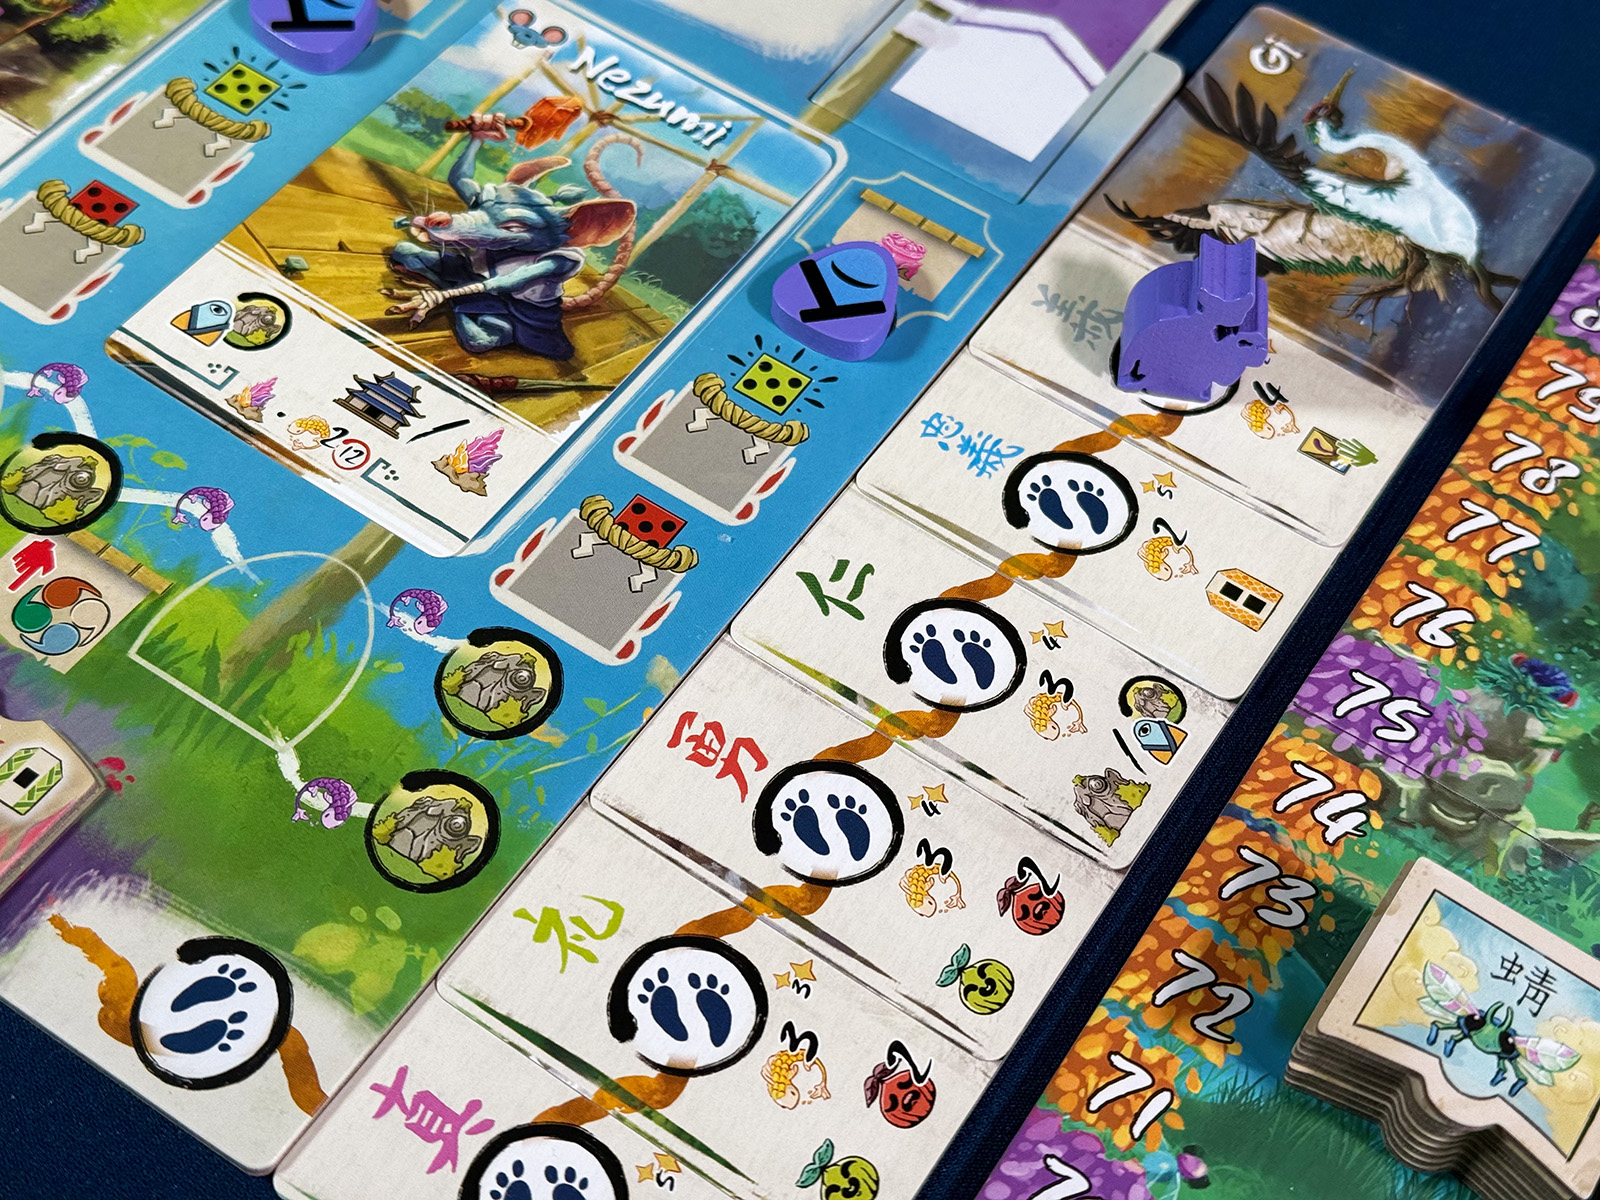
Bitoku cards themselves form a connected path, which can be advanced along with movement points. Every card has its own bonus, and there is a bit of set collection going on.
I enjoyed this aspect a lot, but modified the usual placement to go vertical in order to save some critical table space!
Other paths are available to move pilgrims along on the main board, which often turns into a balancing act.
There was a lot going on at all times, yet it was a lot of fun to understand what I could do to move ahead! And with some clever choices, my second play resulted in a victory. Hurray!
Session Overview
Play Number: 1 & 2
Solo Mode: Included in the Base Game
Play Details: Standard Difficulty Level
Outcome: 135-162, 159-131 (1 Win & 1 Loss)
I had a nice strategy with the combined dragonflies and mitama spirits. Not only did I pick up early bonuses, yet these were very helpful for final game scoring with some of my pilgrims. Awesome! There were some great moments, but the amount of overhead felt like more than I wanted out of a solo game. It was wonderful to see how all of the elements were intertwined, but this solo path has ended.
%
1 Play
Affordability
Price & Value
7
Functionality
Challenges & Mechanics
7
Originality
Design & Theme
6
Quality
Components & Rules
6
Reusability
Achievement & Enjoyment
7
Variability
Distinctness & Randomness
7
+ Pros (Positives)
- The love and care that went into building this world is apparent in all of the detailed artwork and sections of lore.
- Choosing actions is a fun process that often involves finding the best chained bonuses, which can be very exciting.
- Each play is a little different with the random variety used during several setup steps, as well as how play progresses.
- Different strategies open up various parts of gameplay in their own ways, allowing the full puzzle to become clearer.
- Everything looks beautiful with the colorful and intricate illustrations, along with the high-quality components.
- Figuring out the best way to use actions takes a little time, yet making it all work is a very satisfying challenge.
– Cons (Negatives)
- A huge amount of table space is required, and the large number of components make setup and cleanup extensive.
- Managing the solo opponent takes a lot of effort with a lengthy flow chart and a different set of rules to remember.
- Learning how to play and referencing the rules are rather difficult with the way the rulebook is structured.
- There is a lot of iconography that isn’t necessarily intuitive and requires looking in a separate booklet quite a bit.
Victory Conditions
Score the Most Points
- Overall Goal Progress 100%
Goals and Milestones
Win at least 1 game at the standard difficulty level.
Continue the Conversation
What do you like the most about Bitoku? Do you have a favorite strategy you like to pursue? I was thrilled that I got past the initial feelings of intimidation to discover the wonderful puzzle and beautiful artwork! There were some neat moments and turns I got to experience, and this was a great lesson in what I like and don’t like in my solo games. Good times!
0 Comments